
Guide · working with chocolate
Melting chocolate looks like an easy job — until it seizes into lumps or loses its gloss. Yet all you need is to stick to two things: don’t overheat it, and never let water get into it. And if you want it to be glossy once set and to snap nicely when broken, you need to temper it. Below we cover both: how to melt chocolate, and tempering chocolate step by step.
Temperatures at a glance
It may sound like an exaggeration, but a single drop of water from a lid or steam from the pan is enough to make chocolate seize — it thickens and breaks up into lumps. This is what chocolatiers call seizing. The bowl and spatula must be perfectly dry.
Why does it actually happen? Chocolate is a dry mixture of fat and fine particles of sugar and cocoa. When water drips into it, the sugar dissolves in it and glues the particles together into lumps — and the smooth mass suddenly turns into a lumpy paste.
Above this temperature the cocoa butter overheats, and the chocolate turns grainy and dull. For white and milk chocolate the limit is even lower, because the milk solids burn sooner.
And one small detail that matters: choose a glass or stainless-steel bowl, not a plastic one. Plastic heats unevenly, and it’s hard to judge the temperature in it.
Stick to these two principles and the rest is just technique.
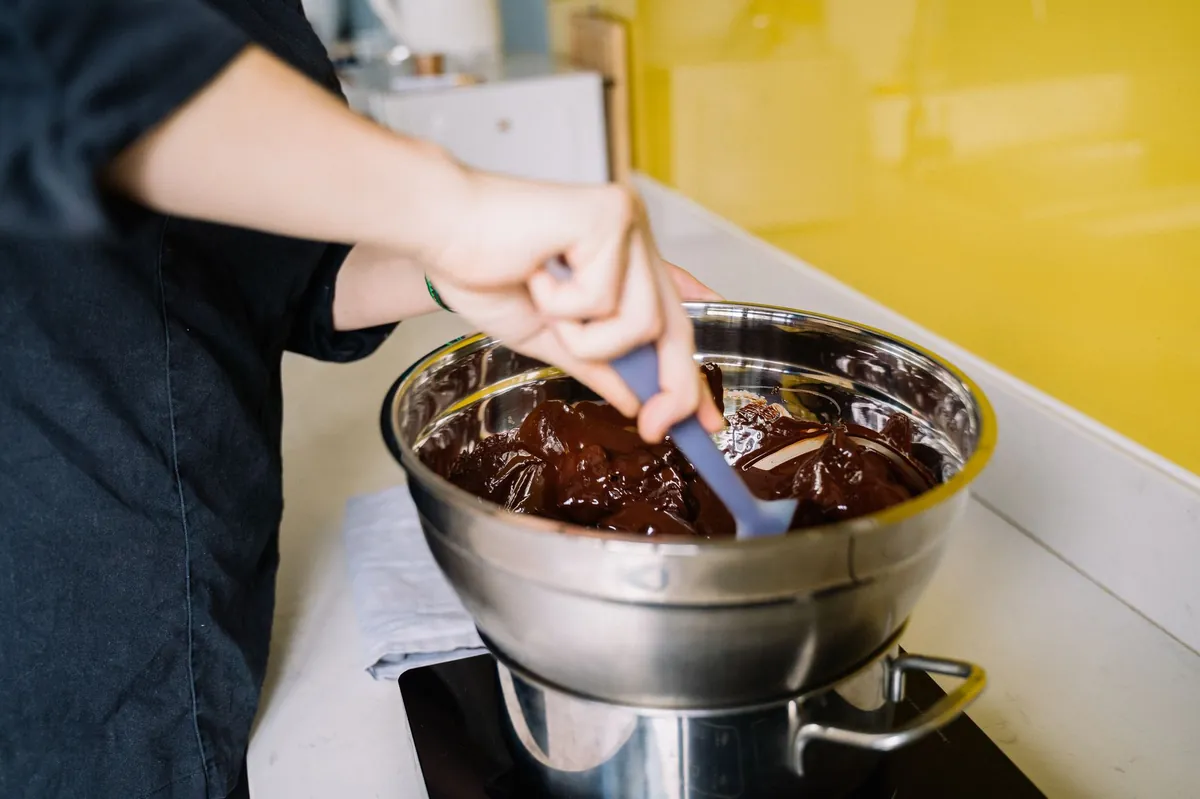
The most reliable method, and the one we use ourselves.
Chop the chocolate very finely — the smaller the pieces, the more evenly it melts.
Put 3–5 cm of water in a pan and bring it to a gentle simmer, then turn the heat down. The water shouldn’t boil vigorously.
Set a glass or stainless-steel bowl on the pan so that its base doesn’t touch the water. The chocolate is melted by the steam, not by direct boiling.
Stir with a spatula and let it melt slowly. Once about two thirds of the chocolate has melted, take the bowl off the heat — the rest will melt in the residual heat.
That last step is really important and can’t be skipped: if you leave the bowl over the steam until everything has melted, you’ll overheat the chocolate.
A small amount (up to 100 g) is usually done in three to four minutes; for half a kilo, allow a good ten minutes. Rushing never pays off when melting chocolate.
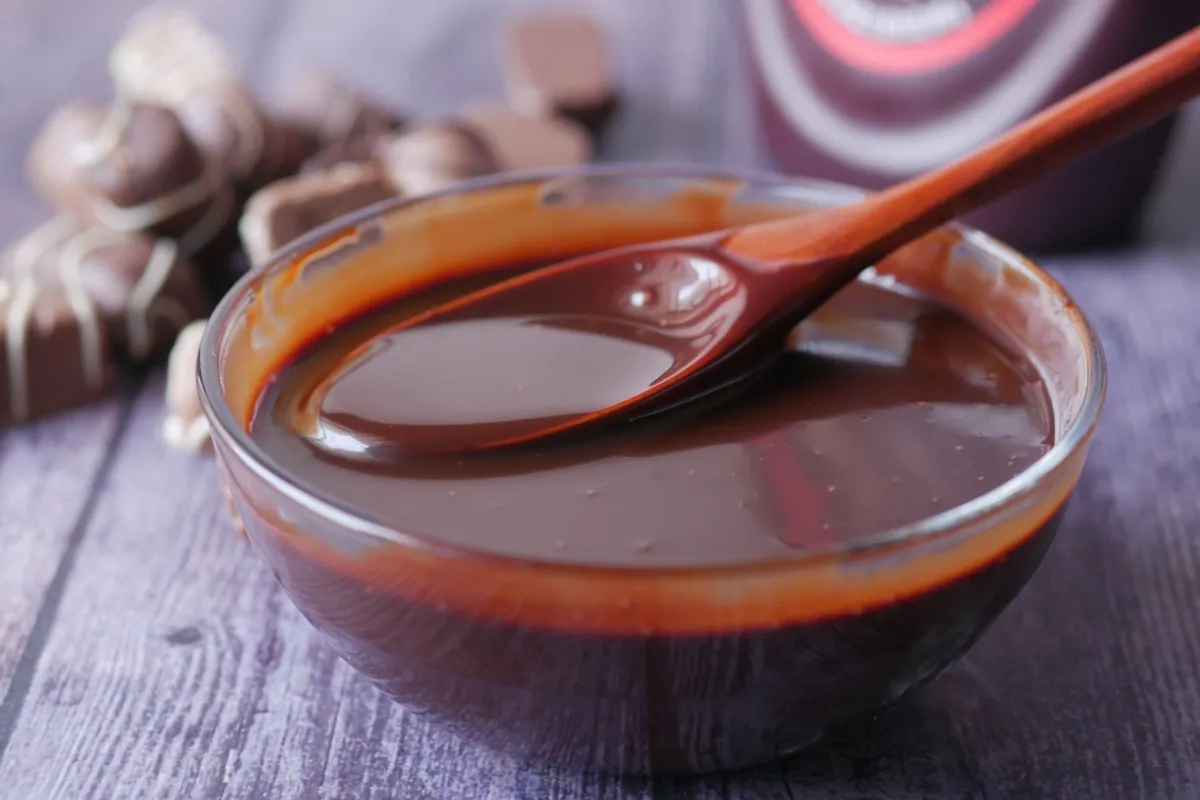
A quicker method, where you need to avoid one mistake.
Chop the chocolate into a microwave-safe bowl and heat it on low power in 20–30-second bursts. After each burst, take the bowl out and stir thoroughly — the chocolate keeps its shape even when it’s already liquid inside, so you can’t tell how far it’s got without stirring. When only a few last pieces remain, switch off the microwave and stir until completely melted.
The quickest and also the riskiest method. Warm a heavy-based pan over very low heat, take it off the hob, and only then tip the chopped chocolate into the hot pan. Stir until it melts in the residual heat.
Never leave a pan of chocolate on a hob that’s switched on — the bottom will overheat within seconds.
A method few people know, yet the gentlest of all: you warm the chocolate in a bowl with a hairdryer while stirring constantly. It takes longer, but there’s no risk of overheating or of contact with water. It’s handy when you need to keep chocolate liquid for a longer time — when decorating, for example.
Once melted, chocolate thickens quickly and is often too thick for a coating. What to thin it with depends on what you want to do with it:
Never thin chocolate with water, milk or any cold liquid. That’s a sure path to lumps.
Yes, though not completely.
If the chocolate has thickened and gone lumpy because of water, try stirring in hot cream or a little warm milk, a teaspoon at a time. It sounds contradictory, but it works: a small amount of water makes chocolate seize, while a larger amount of liquid turns it into a smooth ganache. Don’t use it as a coating any more, but it will work well as a filling or a cream.
If the chocolate has overheated and gone lumpy, take it off the heat, add a handful of unchopped chocolate and stir. Sometimes the texture can be brought back.
What can’t be rescued is burnt chocolate — you’ll recognise it by brown streaks and a bitter smell.
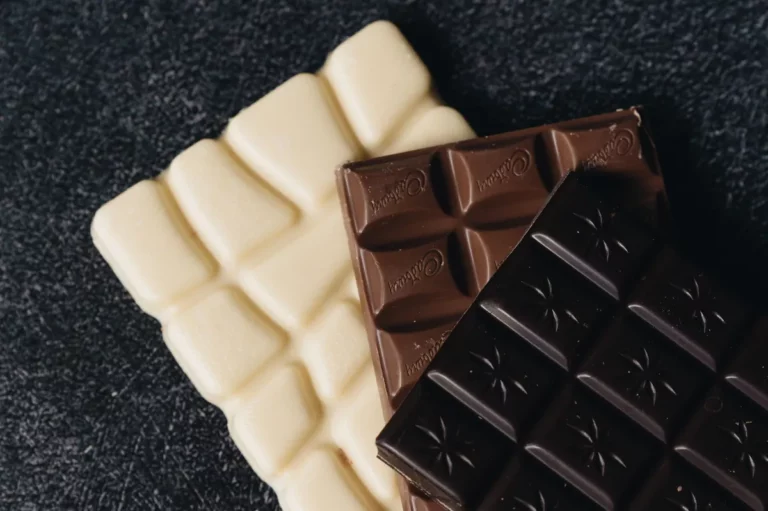
Both contain milk solids, which burn sooner than cocoa alone. White chocolate also contains no cocoa mass at all, only cocoa butter, which makes it the most delicate of them all.
For both, the rule is: lower temperature, shorter bursts, more stirring. In a bain-marie, take them off the steam even sooner than dark chocolate.
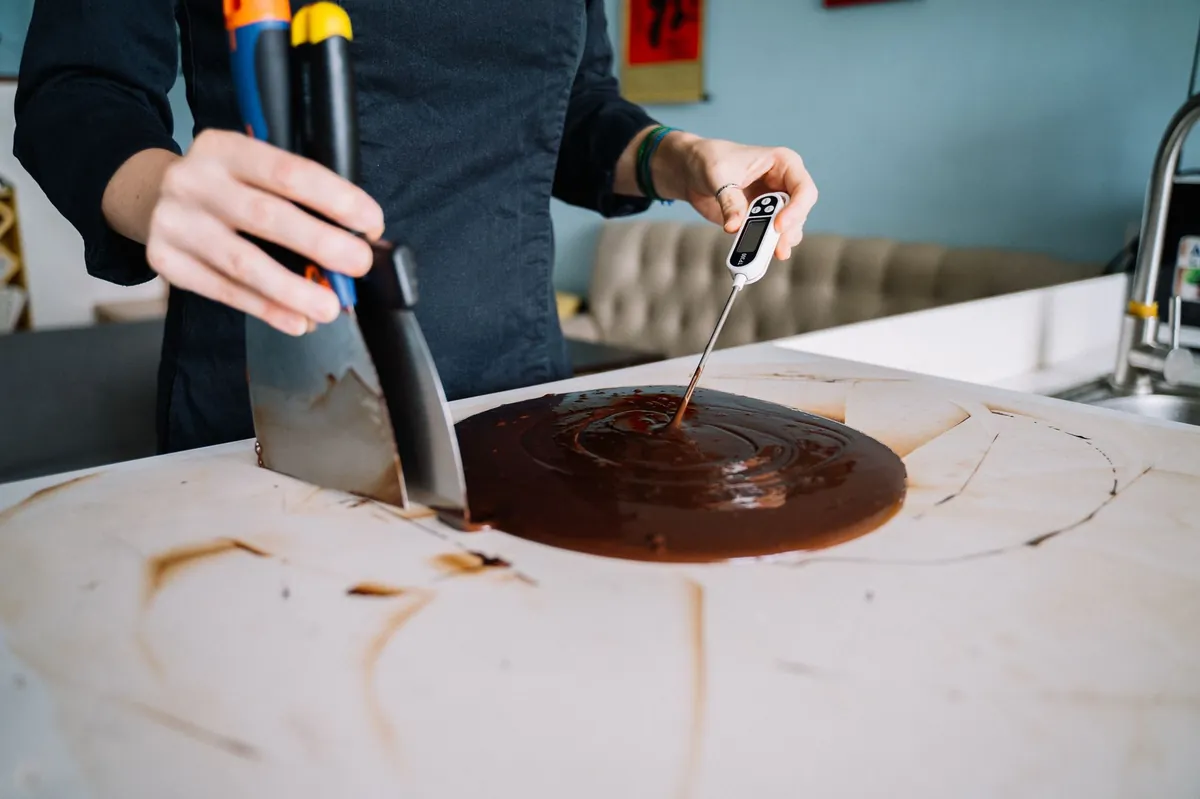
This is where the part that many recipes leave out begins.
Cocoa butter can set in six different crystal forms, and only one of them is the right one. Five of them are unstable — they set slowly, are soft and break down over time. We want the sixth form, known as form V, which sets quickly, holds its shape, shines and gives that characteristic snap when broken.
If you simply melt chocolate and leave it to cool, it won’t set evenly. It ends up in one of the unstable forms: it will be dull and soft, and after a few days a white bloom will appear on the surface. Tempering is nothing more than a process that makes chocolate form that stable form V we’ve just mentioned.
Tempering is always worth it when the chocolate will be seen: for coatings, pralines, bars and decorations. You don’t need to temper chocolate that goes into a dough or a cream.
The principle is the same for all of them: melt — cool — gently rewarm.
The easiest way to achieve this at home is seeding: melt two thirds of the chocolate, take it off the heat and stir in the last third, finely chopped. The unmelted chocolate is already correctly crystallised and ‘seeds’ the melted chocolate. Stir until it melts, then check the temperature.
A thermometer is the only way to go here — you can’t judge it by eye. An ordinary kitchen thermometer will do; a difference of two degrees decides whether the result will be glossy or dull.
How do you keep chocolate liquid while you work with it? Tempered chocolate starts to set before you’ve finished dipping. Stand the bowl over a pan of lukewarm water (around 32 °C, so not over steam) and keep checking the temperature. As soon as it drops below the lower limit, warm the chocolate briefly — but only by a degree or two, otherwise you’ll undo the tempering and have to start again.
The test takes a few minutes: spread a little chocolate on a piece of paper and leave it to set at room temperature.
If the test fails, warm the chocolate again and repeat the process. You can temper chocolate again and again; nothing is spoilt by it.
Christmas biscuits are when chocolate gets melted most often — and that’s exactly where tempering pays off. An untempered coating on gingerbread turns grey after a few days, even though it still tastes fine.
If you don’t want to bother with tempering, reach for confectioner’s coating: it contains vegetable fat instead of cocoa butter, sets on its own and keeps its gloss. In flavour, though, it can’t compare with real chocolate — and under the European standard it may not even be called chocolate.
There’s one more trick that works well for dipping biscuits: put the chocolate in a tall, narrow container rather than a wide bowl. A narrow container gives a deeper layer, so dipping is easy and the chocolate holds its temperature for longer.
Chop it finely, melt it in a bain-marie up to 45 °C and thin it with a little cocoa butter or 1–2 tablespoons of butter per 100 g. Never thin it with water.
Cocoa butter for gloss and fluidity, butter for smoothness, warmed 33% cream for ganache. Oil only in an emergency.
Ideally cocoa butter — it’s the fat from the same bean, so the coating stays glossy and can still be tempered.
Almost always because of water or steam. You can rescue it by stirring in hot cream, but you’ll end up with a ganache, not a coating.
No. For doughs and creams, melted chocolate is enough. Temper it when the chocolate will be seen — for coatings, pralines and decorations.
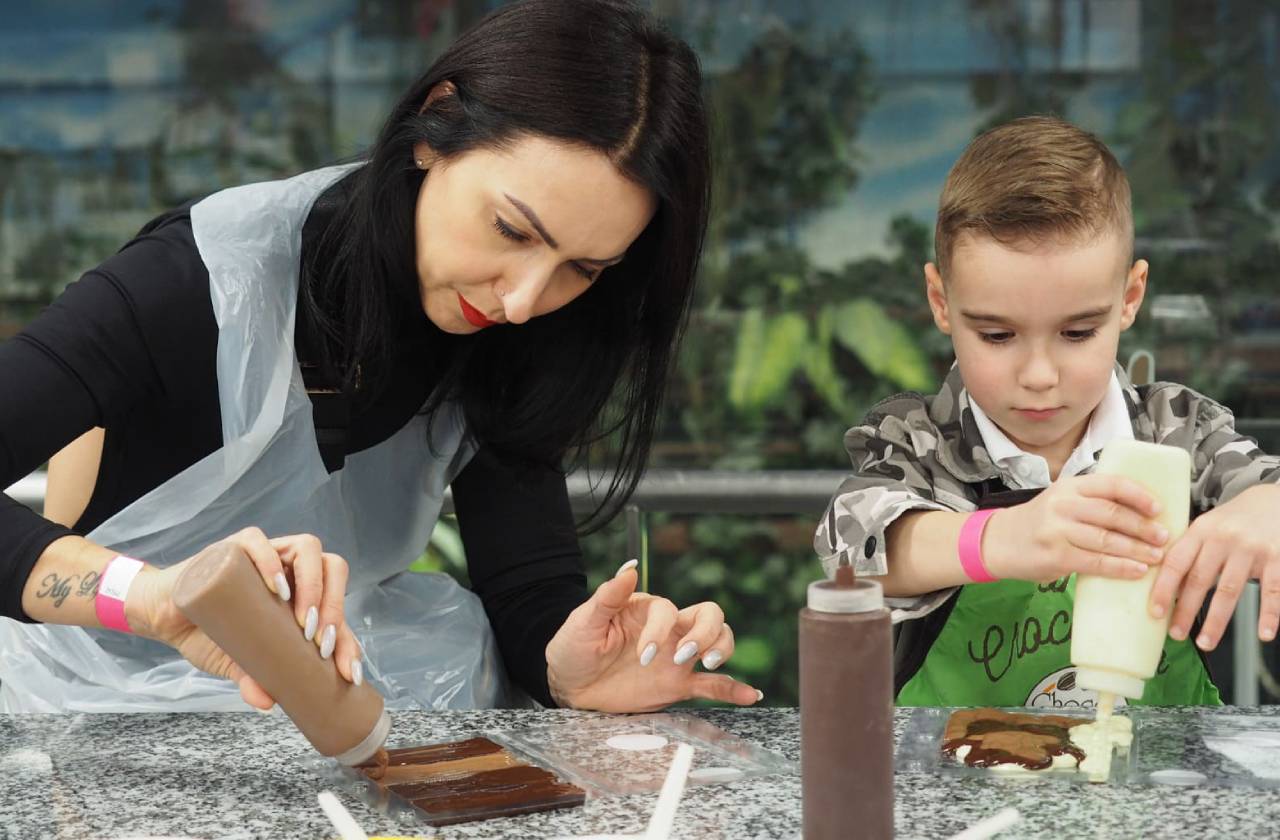
You can try tempering and working with coatings yourself at a chocolate workshop in our chocolate factory in Průhonice near Prague.
Chocolate workshop